Story of Day :
Contents
The Ultimate Guide to Growing and Caring for Kale Plants
Kale: The Superfood of the Garden World
Kale has been dubbed the “new beef” and the “queen of greens.” It’s no wonder that kale has become one of the most popular superfoods in recent years. Packed with nutrients like vitamin A, vitamin C, fiber, and antioxidants, this leafy green is a favorite among health enthusiasts.
But did you know that kale is also a great addition to any garden? With its hardy nature and simple care requirements, growing kale can be an easy way to add some nutritious greens to your diet. In this guide, we’ll go over everything you need to know about growing and caring for kale plants.
Choosing Your Kale Variety
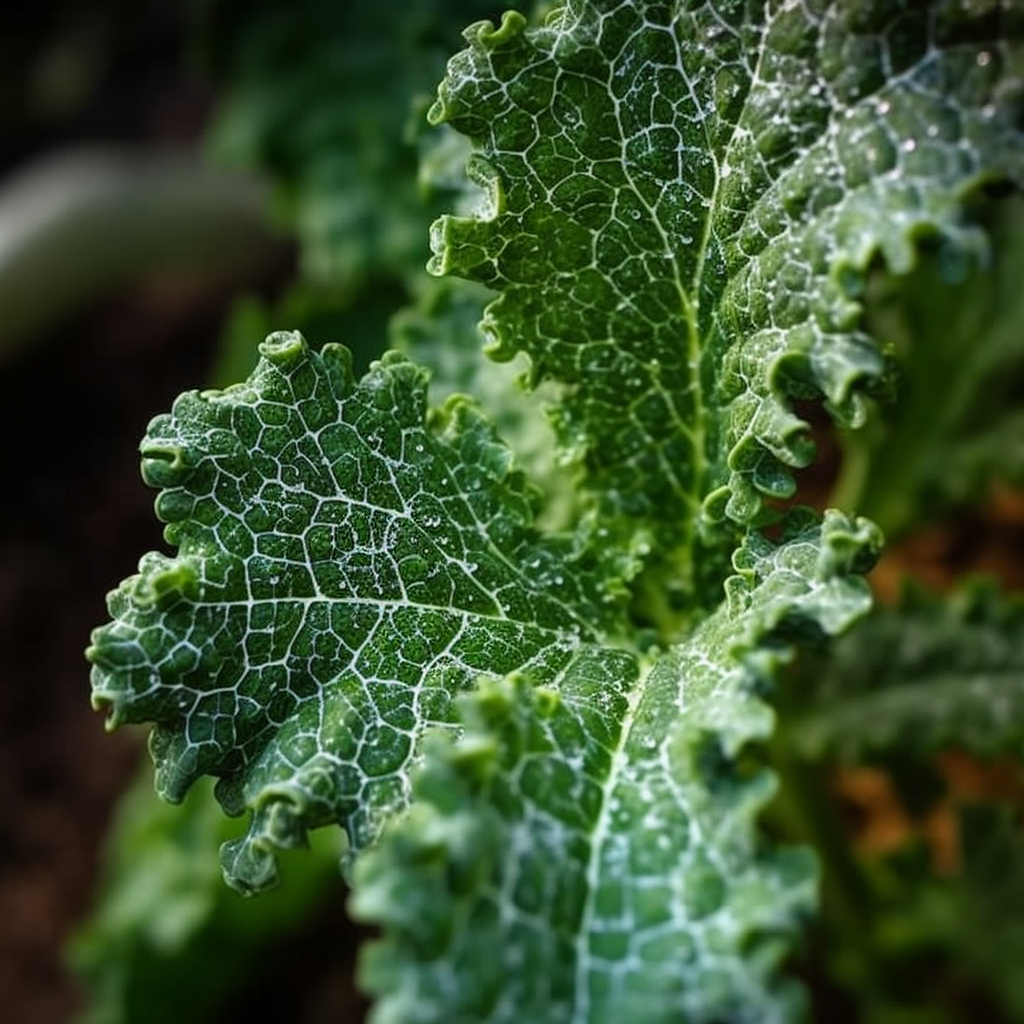
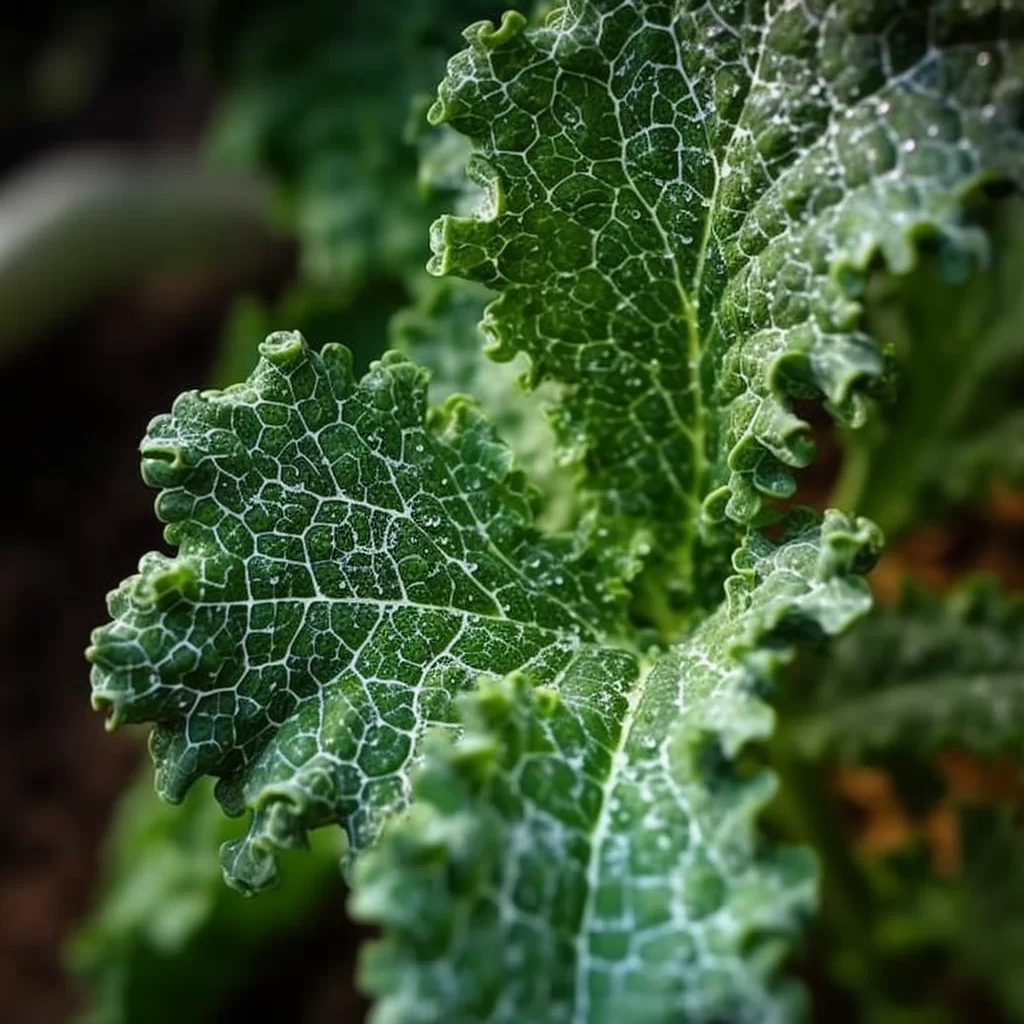
Before you start planting your kale seeds or seedlings in your garden, it’s important to choose the right variety for your needs. There are many different types of kale available on the market today – from curly-leafed varieties like Red Russian or Lacinato (also known as Dinosaur) Kale – each with their own unique texture and taste profile.
- Curly-Leafed Varieties: These kales have frilly leaves that are often used in salads.
- Dinosaur/Lacinato: This variety has long leaves with a slightly sweeter flavor than other kales.
- Red Russian: This variety has purple veins running through its green leaves making it not just tasty but beautiful as well.
Planting Your Kale Seeds or Seedlings
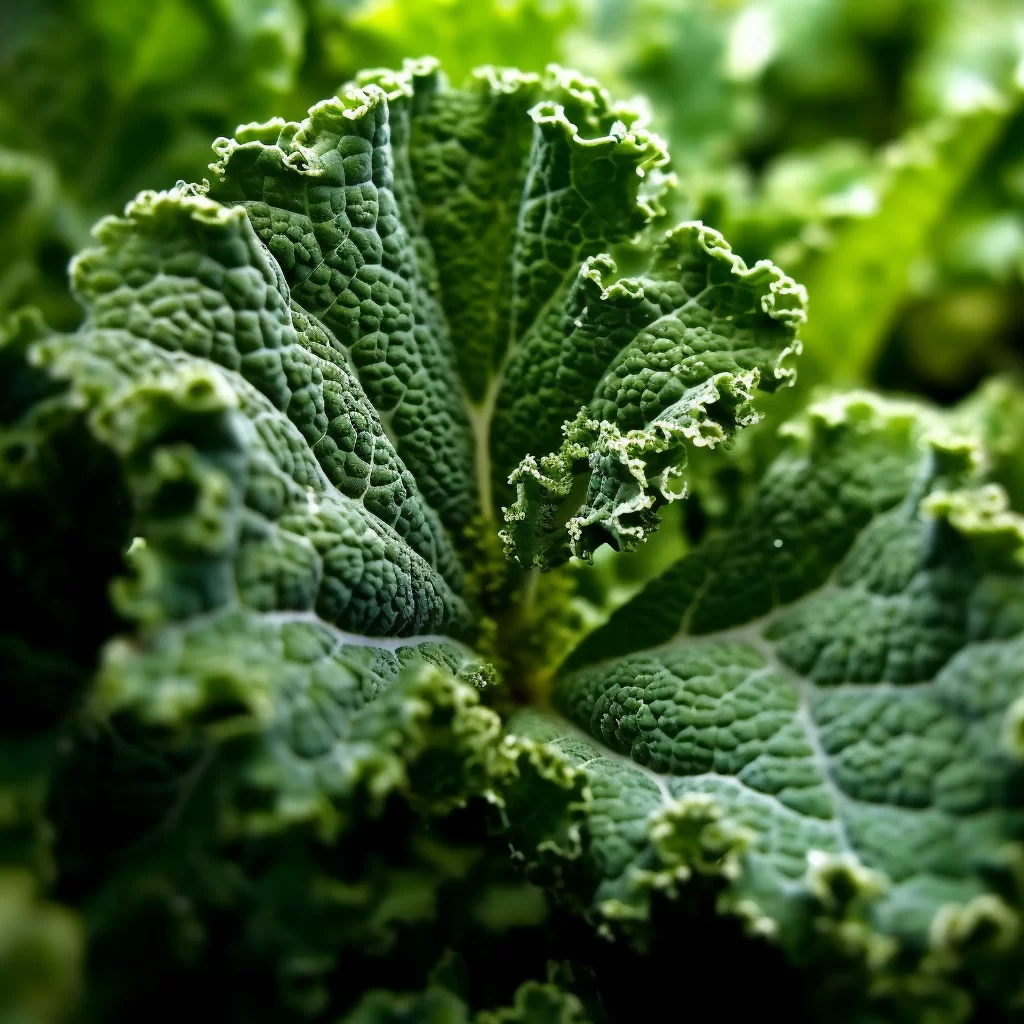
Once you’ve chosen which type of kale plant you’d like to grow, it’s time to start planting. Kale is a cool-season crop and can be planted in early spring or in the fall. It’s important to note that kale prefers moist and well-drained soil.
If you are planting seeds directly into your garden, you will need to plant them about 1/2 inch deep and 3 inches apart. Make sure to keep the soil moist until seedlings emerge which should happen within two weeks of sowing.
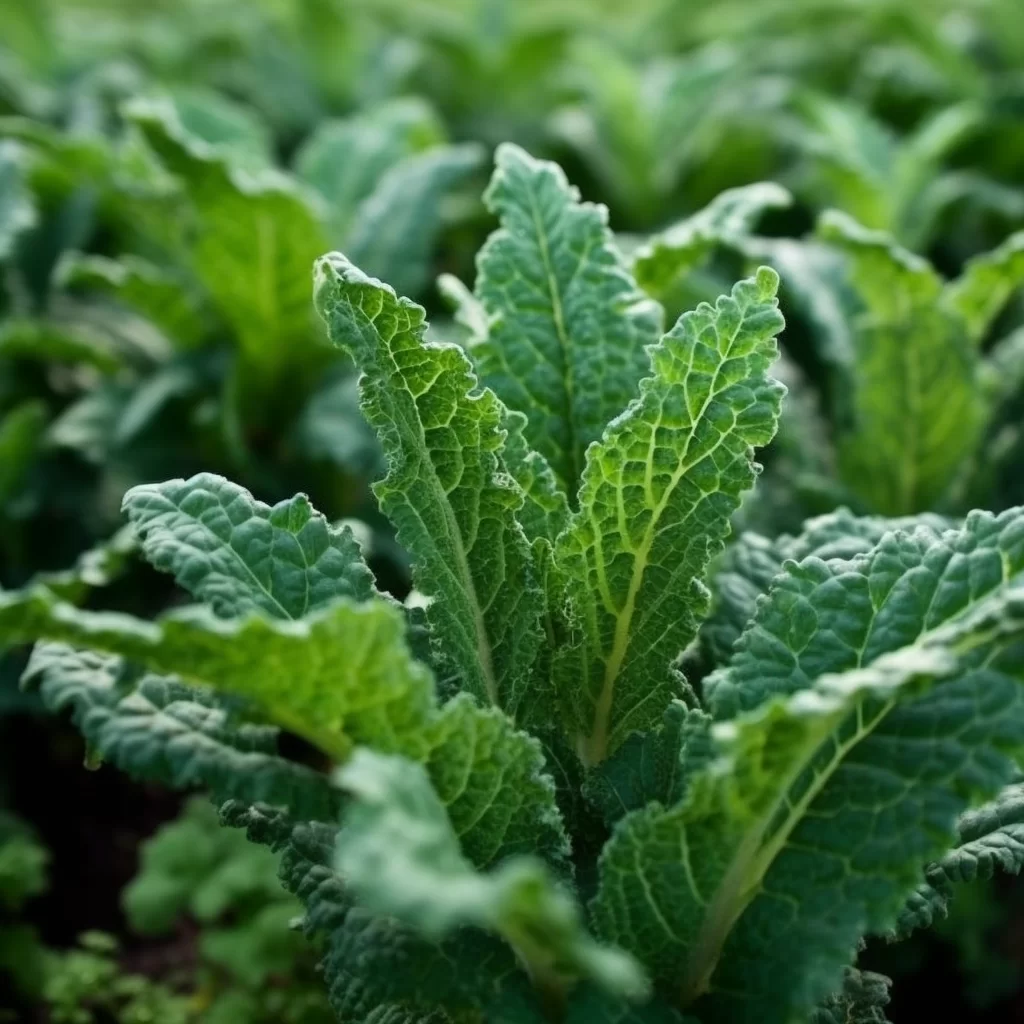
If you’re starting with seedlings purchased from a nursery or greenhouse, they should be planted about 8-12 inches apart. Gently remove the plants from their containers and carefully place them into holes made in the soil up to their first leaves.
Caring for Your Kale Plants
After your kale plants are established, it’s important to continue caring for them properly so that they can produce as much foliage as possible.
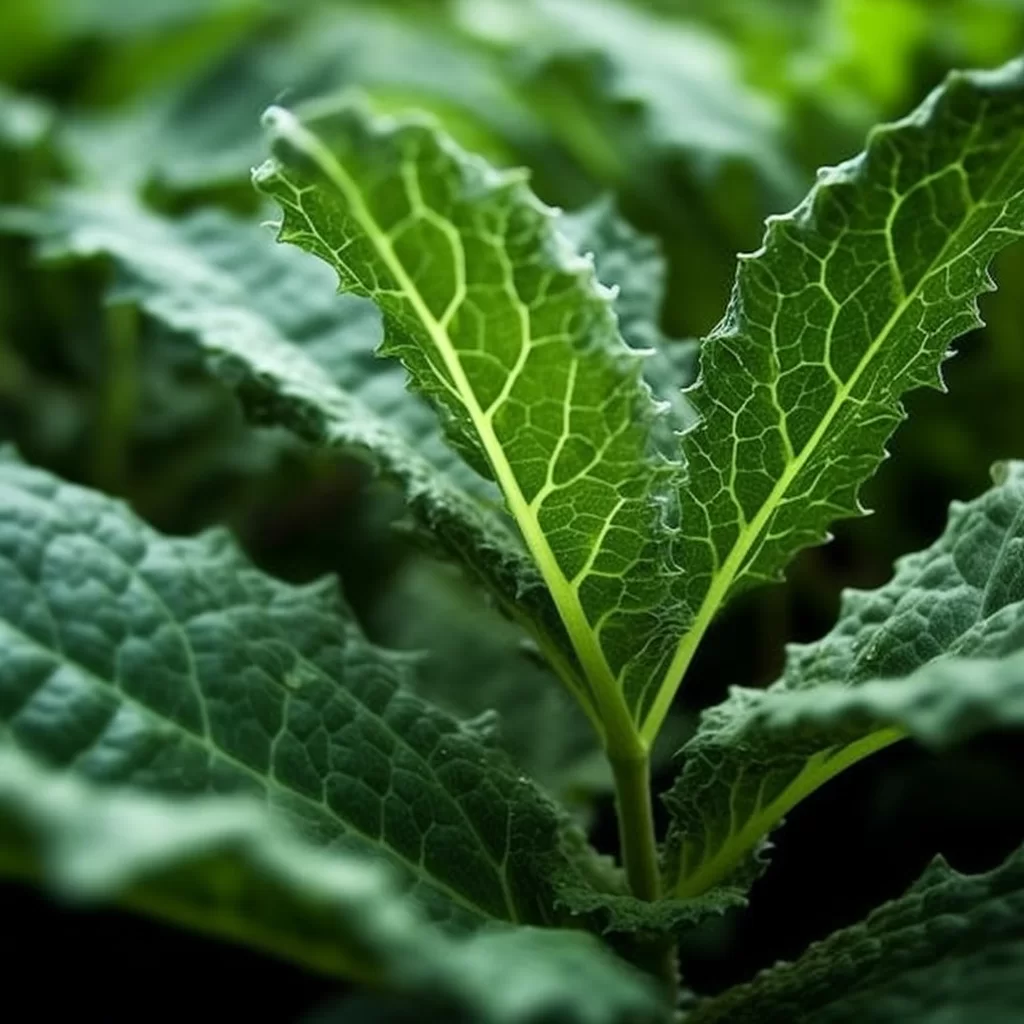
- Watering: Water your kale plants regularly especially during dry spells when soils may dry out quickly.
- Fertilizing: Fertilize your kale with a nitrogen-rich fertilizer every few weeks throughout its growing season.
- Pest Control: Keep an eye out for common pests such as aphids or cabbage worms which love feasting on these greens; If you notice any problems try using insecticidal soap rather than harsh chemical pesticides.
- Weed Control: Kale doesn’t like competition from weeds so make sure you remove any surrounding weeds that could take nutrients away from your crop. Mulching around the base of each plant can help prevent weed growth while also keeping moisture locked in around the root system.
The Best Time To Harvest Kale Plants
After about 60-70 days, your kale plants should be ready for harvest. The best time to harvest is in the morning or late afternoon when the leaves are dry and crisp.
You can start by removing just a few of the oldest outer leaves and then leave the plant to continue growing. This way you’ll have fresh greens all season long. If you’re looking for a larger harvest, cut off the entire head of kale leaving behind some foliage so that it can continue producing.
Conclusion
Kale is an excellent addition to any garden – whether you’re a health nut or not! Not only does it offer many nutritional benefits, but it’s also easy to grow and maintain.By following these tips for planting and caring for your kale plants, you’ll be able to enjoy this superfood throughout its entire growing season. And if all else fails – at least you’ve got yourself some great material for your next green smoothie recipe!
